
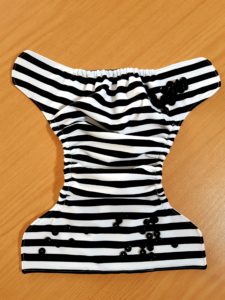
There are many different methods to make a nappy. Here’s a quick guide on how I made a snap-in waterproof shell for my baby. I did not make an insert with it as I have enough in my collection, but you can make a matching snap-in insert using our Cotton Fleece, Organic Hemp or Bamboo fabric.
You will need;
- A pattern – I recommend the Boegoe Bugz Cloth Nappy Pattern or the Boegoe Bugz Nappy Cover Pattern. The cover pattern will have a more roomy fit. These patterns will also give you more detailed instructions on how to construct a nappy.
- Breathable Waterproof Fabric. If you want a soft, fleecy inner, use our Waterproof Softshell fabric. If you want a wipeable inner, use our PUL fabric.
- Fabric for the outer layer (I used swim lycra. You can use anything that is nylon or polyester based. Stay away from cotton as this can cause wicking issues.)
- Snaps and pliers
- 8mm braided elastic
Step 1: Cut out your pieces. You will need one layer PUL/Softshell and one layer of your outer fabric. Mark your snap placements with a water erasable fabric marker.
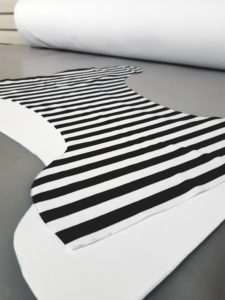
Step 2: Stitch your layers together, right sides facing in. If you are using Softshell fleece, the fleecy side should face inwards. If you are using PUL and want a wipeable inner layer, the wipeable side should face inwards. Leave a gap at the center front area so you can turn it right side out. Trim the corners and wings for a neater finish around the curves.
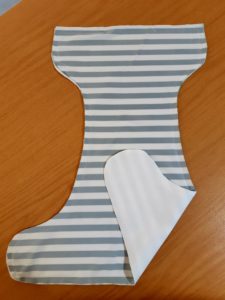
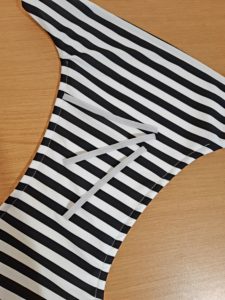
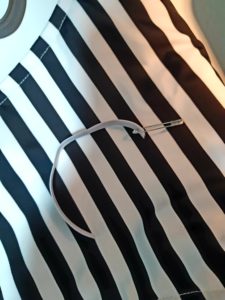
Step 3: Turn your nappy right side out. Mark and stitch your elastic casings. Cut your elastics to the length recommended on your pattern. Use a safety pin to thread your elastic through the casings and stitch them down. While this method of stitching the casings down first and threading through the elastic may be a bit more tedious than other methods, it does give a very neat finish and there is less room for error. This way you also cannot catch your elastic by accident. Now top-stitch the rest of the nappy and over the front part where you left a turning gap.
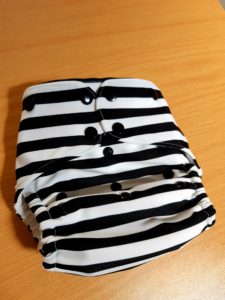
Step 4: Time to snap! You can use Kam pliers or a tabletop press to insert your snaps. As this nappy is going to be used as a snap in shell, I apply all snaps at the end, through both the outer fabric and the lining. It doesn’t matter that there are exposed snaps on the inside of the shell as they will be covered by the insert once it is snapped in. If you prefer, you can also insert the waist and rise snaps only onto the outer fabric, so there’s no snaps showing inside, but you will need to reinforce the outer fabric and you will need to do this before you sew your two layers together, at step 1. The wing snaps have to go in last and through both layers.
And there you have it! It is very satisfying and loads of fun making your own nappies. You save a ton of money too! Practice definitely makes perfect so start with the simple styles and easy fabrics and move your way up from there.
About the author : Elmarie Robson
5 Comments
Leave A Comment
Related posts
Popular products
-
 Calendula Baby Bum & Body Balm R135.00
 -
 MINI PUL Cover (Dinosaurs) R140.00
 -
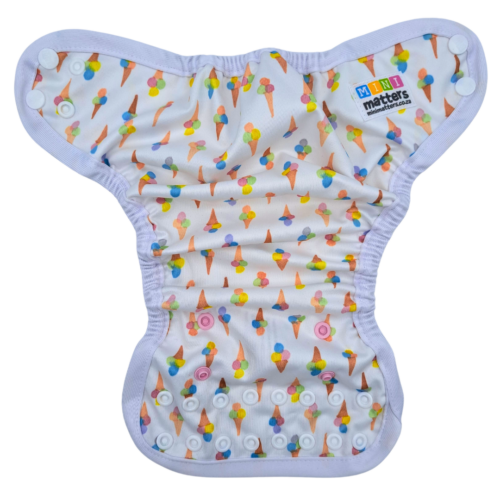 MINI PUL Cover (Ice Creams) R140.00
 -
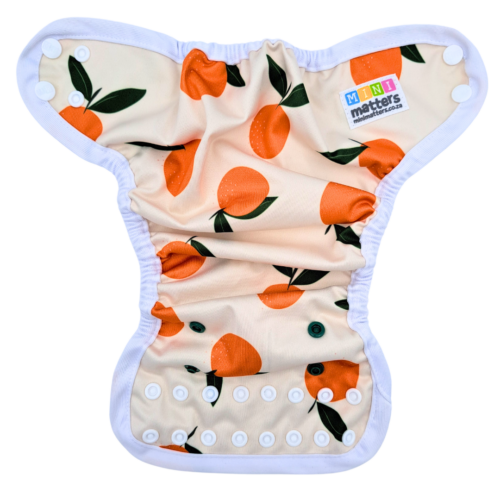 MINI PUL Cover (Valencia Oranges) R140.00
Would love to try making a cover. Specially looking at a good fleece cover for winter.
Hi there.
Yes, I would love to make a cloth nappy cover. I’m do make other things but would love to try and make baby covers.
I would love to make the nappy covers. Whete do I get the pattern from?
Hi Amanda, we have the Boegoe Bugz cloth nappy pattern. You can purchase it here https://minimatters.co.za/shop/boegoe-bugs-cloth-nappy-pattern/
oh this is super, thank you. i am looking to start a project to make these for sick adults in the rural areas who are having a tough time affording diapers as they are so expensive. am so glad i found this!